Sign Up
Login
Hentai Videos
Hentai Photos
Hentai Games
Users
Videos
GIFs
Photos
Comics
Games
Community
Members
Hentai Videos
Hentai Photos
Hentai Games
Users
EN
EN
Français
Deutsch
Dutch
Español
Italiano
Português
Português
русский
العربية
עִבְרִית
日本語
中文简体
中文 繁體
Türkçe
Dansk
Norsk
Český
বাংলা
Română
Polski
Magyar
Bosanski
Hrvatski
Srpski
Slovenski
Sign Up
Login
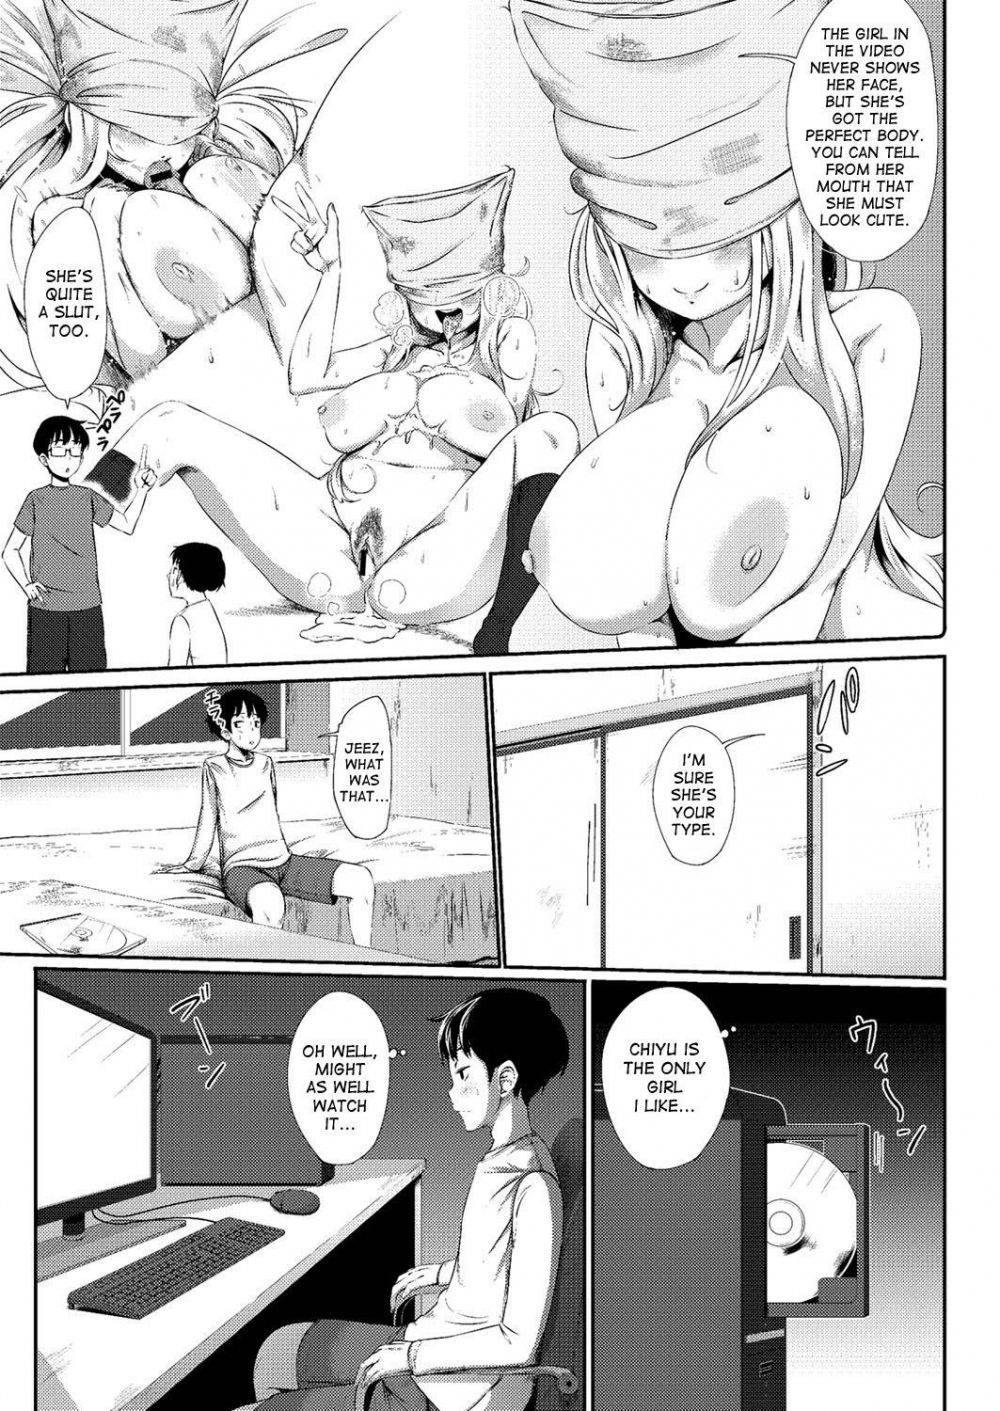
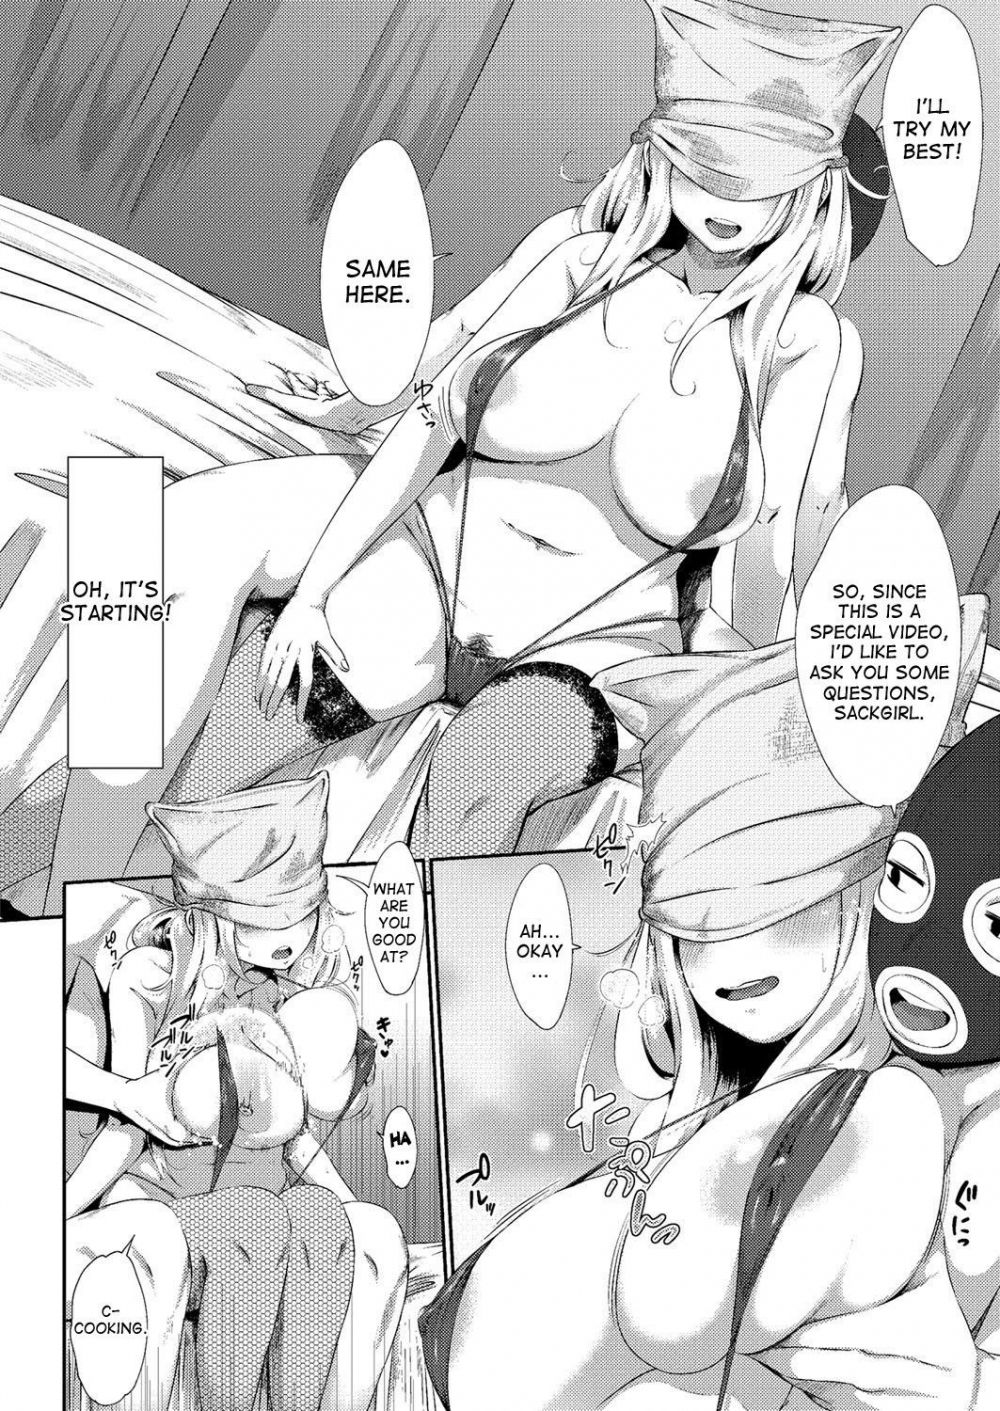
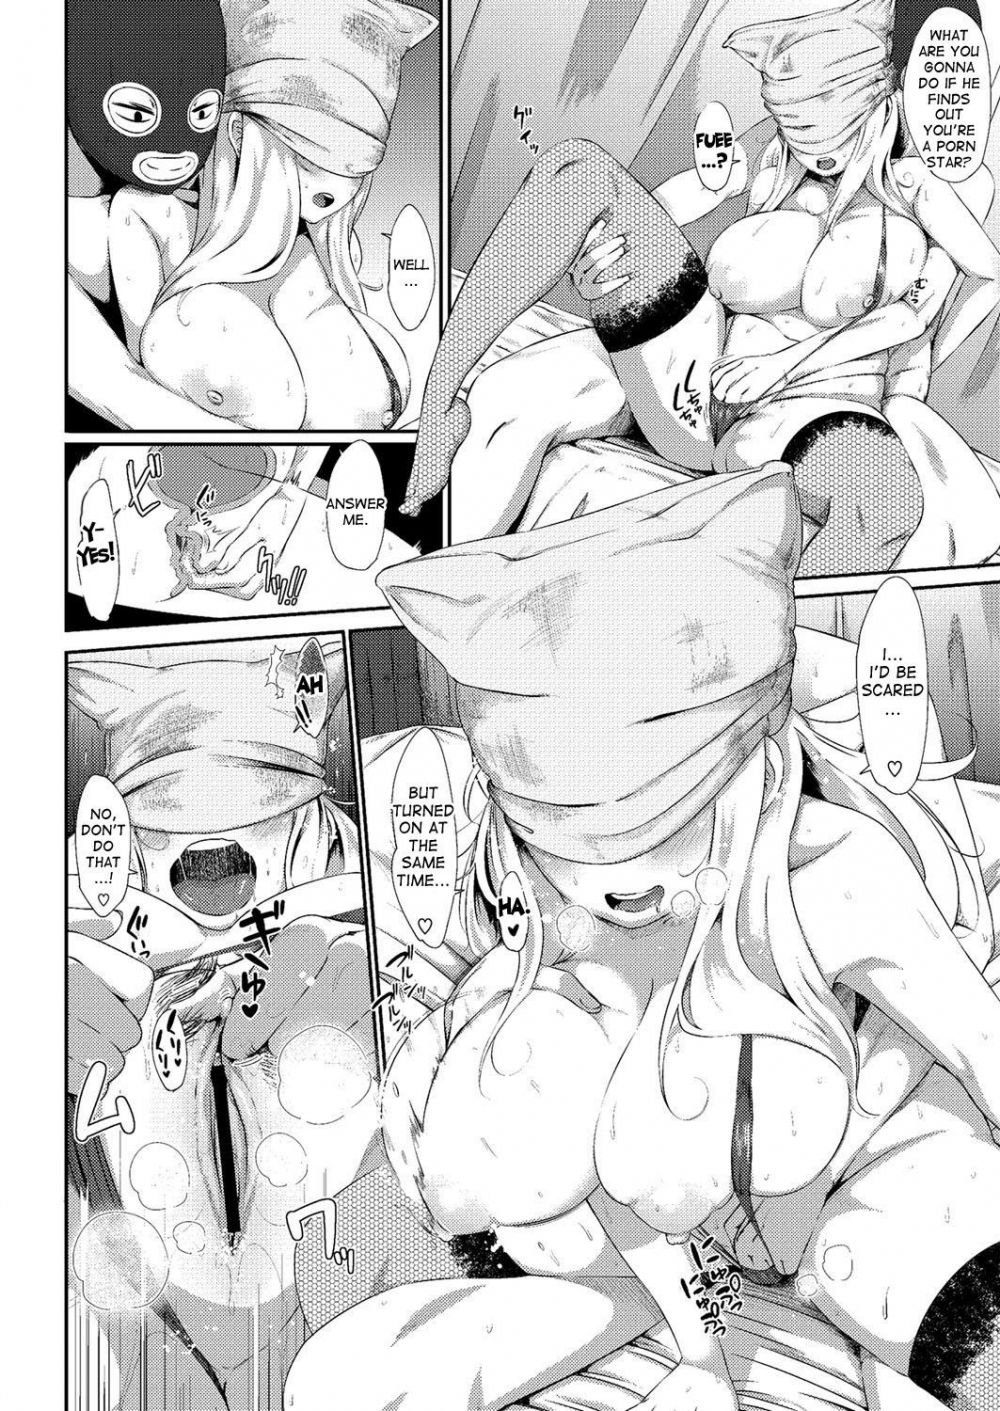
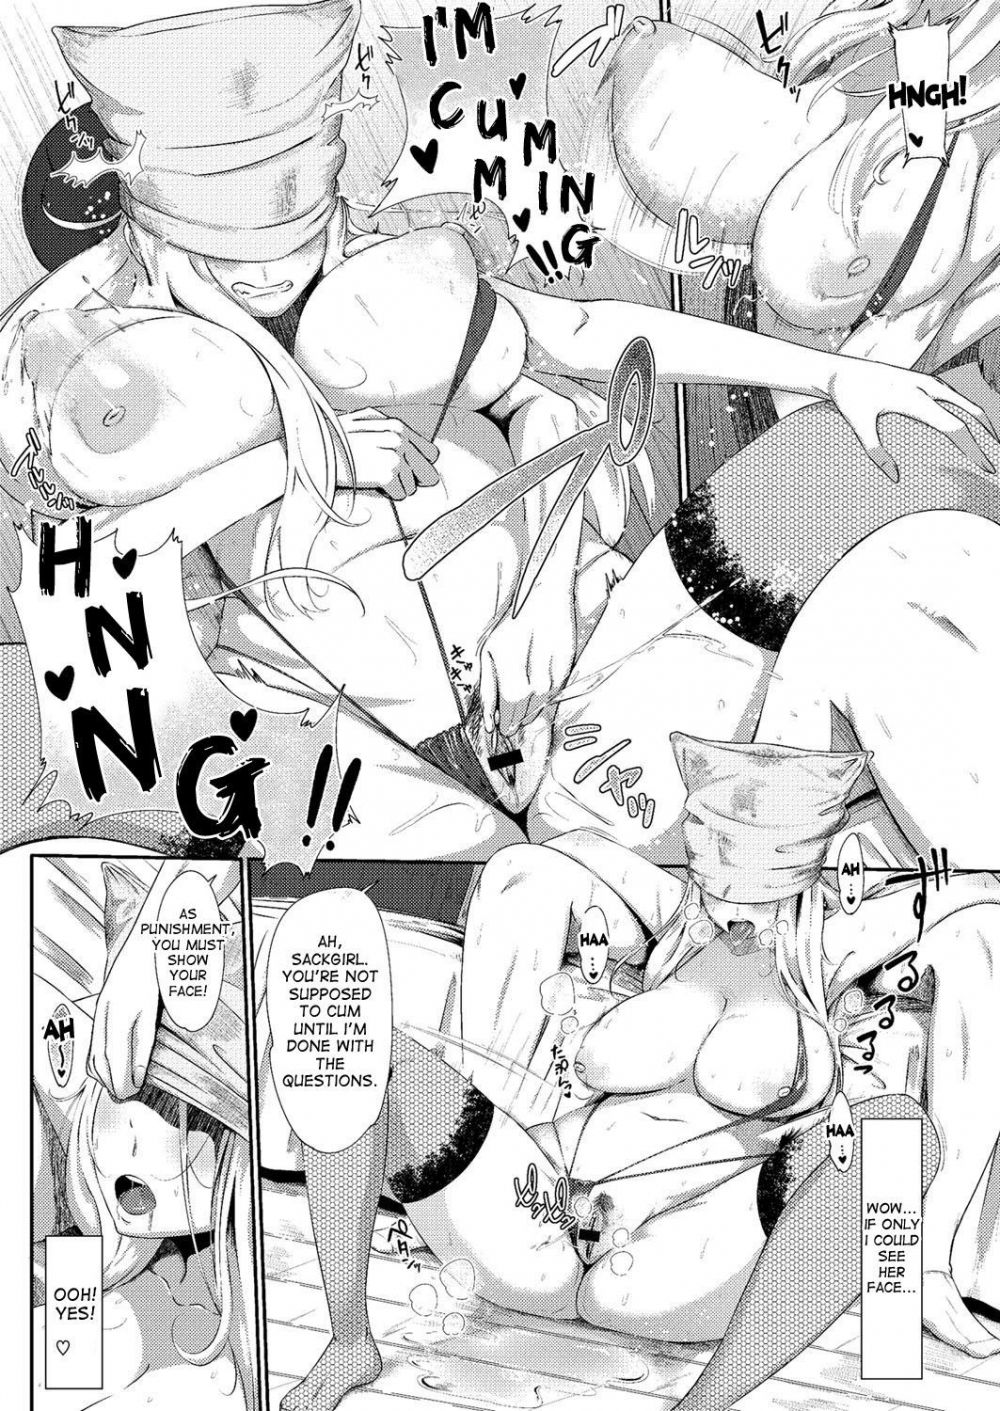
Slideshow: Her True Self Ch. 1
Back to 'Her True Self Ch. 1'